Tag: photobooth

1st Grade Telling Time iMovies
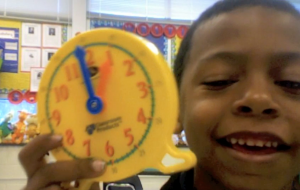
1stTimeFirst graders in Ms. Reese’s class at Laburnum Elementary have been learning how to tell time to the half hour (SOL1.8), and today they used Photo Booth iMovie to create their own videos about time. First we reviewed how to tell time using the model clocks. Then we discussed what students are doing at different times throughout the day because I wanted them to not just tell the time on their clocks, but to also tell what they do at those times. Next we opened up Photo Booth, and I explained how it reverses the image so it will be kind of tricky to tell the time (although Samontey could tell time in the reverse as well!). They recorded themselves holding up the clocks, telling the time, and explaining their activities. This was a great way to assess understanding since we found out that although many students could tell the time, several had difficulty knowing what they do at those times. After that, we imported the videos into iMovie. I showed them how to add titles and music to their video. They loved that part! Finally we exported the videos as QuickTime movies. Take a look at a few student examples: Jarrett, Jakirra, and Noah (he can do a LOT at 9:00!).

4th Grade Virginia Studies Timeline

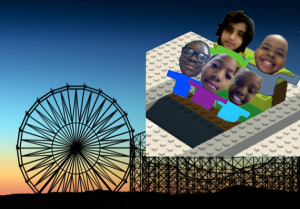
coasterI’ve been working with a small group of fourth grade students from Ms. Daniel’s class at Laburnum Elementary on their Henrico21 project. Today we were able to finish it. It all started about a month ago when the students came up with the idea of making a “Roller Coaster through the Curriculum” to help other 4th graders review for the upcoming SOL Tests. Each student chose a period of Virginia history and they were instructed to find 5 important events from that period to include on the timeline. They gathered their information and images from a variety of online sources and collected them into a Google Doc. They also recorded videos of themselves introducing their topics using the Photo Booth roller coaster background. Kenan used BuildWithChrome to make a virtual Lego model of the roller coaster. Once their research was complete, they used two websites to build the timelines. The first was JSTimeline which automatically generates a timeline from the Google Doc data. The second one was Dipity (this site no longer works 4/2/2020) which not only generates a timeline, but it also turns the data into a flip book and an interactive map! Finally they created a webpage to share their timelines with the other 4th grade students using a site called Yola. Their project turned out great! You can take a look at it here (link was removed because it no longer works 4/2/2020).


3rd Grade Library Project

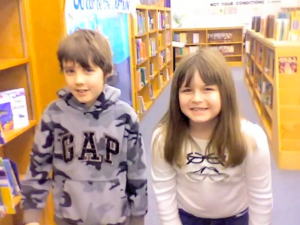
libraryToday I worked with small groups of third graders at Holladay Elementary to create videos for a contest. The theme was “The Library is the Heart of the School.” The students had to extend that analogy and think of creative ways to express it. I was really impressed with the ideas they came up with. Like Jacob thought of this excellent analogy: “The library pumps in people and the hallways are like the veins. Then it pumps out people with books. The people with the books are like the clean blood and the people with no books are like the dirty blood.” Some of the students gave a walking tour of the four parts of the library, comparing it to the four chambers of the heart. Others pointed out that the heart is often considered the place of emotions, and the books in the library make you feel all kinds of emotions like happiness, sadness, and fear. The students used Photo Booth to film themselves and iMovie to edit the videos. Some of them also added Keynote slides. Their projects turned out great! Take a look at them here: Group 1 and Group 2.


5th Grade Video Book Reviews

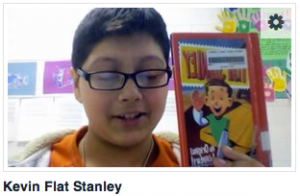
Screen shot 2014-03-25 at 9.35.55 AMFifth graders at Holladay Elementary have been writing reviews for books and posting them to their Edmodo page. The media specialist, Ms. Teague, and the 5th grade reading teacher, Ms. Harris, wanted to expand their audience. Their idea was to publish short student videos of the book reviews that could be linked to each book on the library’s Reading Olympics website. I also suggested linking them with a QR code on each book. Then other students in the school could scan the QR code with a mobile device and watch the book review before deciding whether or not to read the book. So today we had students from each of the three fifth grade classes working with partners to create their videos in Photo Booth. We discussed the importance of showing the book and speaking in a lively manner. One problem with recording in Photo Booth is that the image is backwards so it reverses the words on the book. You can fix it by importing the videos into iMovie, clicking the Crop tool, and flipping the video. However, we didn’t have time to do that today. You can see some of their videos by clicking here or on the school’s Reading Olympics page. There are many free sites for easily generating QR codes: Site1, Site2, Site3, Site4. You could place QR codes around your room for students to scan to visit websites, view presentations, or watch videos. They can even be dynamic where the code stays the same but the link changes weekly (so you don’t have to generate and print a new code). Let me know if you’d like me to help you with a similar project.


3rd Grade Rounding Raps

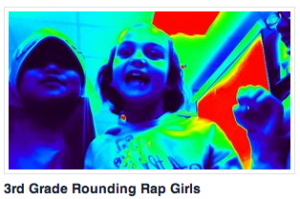
roundingrapThird graders in Ms. Collins’ class at Laburnum Elementary have been learning about rounding, and today she wanted me to teach them how to use Garage Band to create rounding rap videos. Even though Garage Band doesn’t have video producing functions, it gives students a way to create music quickly. So we used Garage Band to make the beats and then used Photo Booth to make the video. First the students divided themselves up into groups. I showed them how to open the loops browser in Garage Band and find a good beat that matched the rhythm of their raps. Then they practiced rapping to the beat, and some of the groups even choreographed some dance moves. Next we opened up Photo Booth, they selected a visual effect they liked, and they recorded their music videos. I posted a couple of them to Vimeo, take a look: Girls’ Rounding Rap, Boys’ Rounding Rap.


3rd Grade Famous African Americans

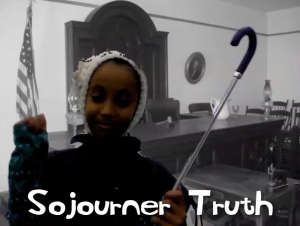
Picture 4As a special enrichment project for Black History Month, a small group of third grade students in Ms. Marion’s class at Holladay Elementary researched, created, and presented their own videos about famous African Americans. The three pairs of students selected Sojourner Truth, Malcolm X, and Rosa Parks for their projects. First, with the help of the media specialist, they gathered information about their person using books from the library and various websites. Then I helped them with some of the technology for their presentation. Some wanted to do a Keynote, and others wanted to do an iMovie project. These students already knew the basics of the programs, but I showed them how to use the advanced features like adding backgrounds, music, and special effects. They did all of the scripting and editing themselves. They also selected their own pictures and music to use. They even designed their own costumes and props! When they finished, I exported their projects as QuickTime videos and uploaded them to Vimeo so the students could share them with their classmates and families. You can check them out here: Sojourner Truth, Malcolm X, and Rosa Parks.


3rd & 4th Grade Videos with Green Screen Effects

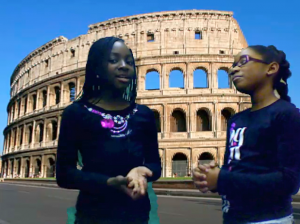
Picture 3Third and fourth grade students at Chamberlayne Elementary learned how to use green screen effects for videos today, just like the ones professional movie producers use. The green screen effect is great for making it look like you are standing right in front of a historical landmark, or a habitat you are studying in science, or a setting from a book, and it can be used right in Photo Booth! First we did a Google image search to find a good background. The third graders were making movies about Greece & Rome while the fourth graders were making Revolutionary War videos. We allowed them to choose their topic, but if too many students were picking the same topic, we encouraged them to select another one. The background photo cannot be directly dragged into Photo Booth, so they had to drag the pictures into their folders. From there we dragged them into the Photo Booth backgrounds (found at the end of all the Effects). Next I modeled how to use the green screen effect in Photo Booth. I also gave them an informal rubric to use for evaluating their videos for Content, Clarity, and Creativity. It’s important to have a plain backdrop when using this effect so I provided them with plastic colored table cloths to hang or hold behind them. Now it was time to start filming. The students acted like they were news reporters or talk show hosts interviewing people. When they were finished they saved the movies to their folders. Teachers could then post the videos on their blogs or somewhere else online for publishing. Here’s a 3rd grade example (Rome) and a 4th grade example (Declaration of Independence)


Kindergarten Martin Luther King Jr. Videos

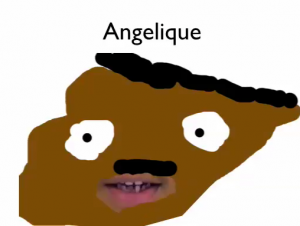
MLKSampleKindergarten students have been learning about Martin Luther King, Jr. since his birthday is coming up (today is actually his real birthday, but we’re celebrating it on Monday). They have learned that Dr. King gave many speeches, so today they recorded a speech of their own, saying things that he would say. Then, to make it look like he was actually talking, we created a mask in Pixie. They painted his face very large, gave him a mustache, and then erased the part where his mouth was. I showed them how to export it as a PNG file with a transparent background. Next I put their video into Keynote and dragged the Pixie mask on top of it, trying to line up the hole in the mask with their talking mouth in the video. I exported the Keynote as a QuickTime movie and posted a few online. You can see some of their examples here: Angelique, Duncan, Paul.


Kindergarten Seasons Movie

Today kindergarten students in Ms. Brown’s class at Holladay Elementary created a movie about the seasons. First we talked about science shows and how the speakers talk clearly with expression. We also reviewed the facts they had learned about the different seasons including how their clothing and activities change as well as how animals and plants change. The students worked in partners and planned what they wanted to say in general, but we didn’t ask them to write a script because we wanted them to be creative and ad lib. Sometimes having a script with young readers is too distracting for them. When it came time to film, the students used Photo Booth and used custom backgrounds of the different seasons that you can download by clicking here. Each pair spoke about all four seasons, then I took clips from each pair’s video and combined them into a whole class movie. I added a soundtrack, “PB&J” by Kerry Muzzy, and subtitles using iMovie. The students had a few problems with the Photo Booth backgrounds (as you can see in the bloopers), but overall they did an outstanding job. Take a look at their movie here.


4th Grade Sign of the Beaver Videos

One of the great things about the student laptops is that they all have a built in video camera with Photo Booth. So your students can use it to film anywhere… even outdoors. Today at Johnson Elementary, fourth graders were creating their own movie adaptation of The Sign of the Beaver book. Movie-making is an excellent way to review and check for comprehension of any book your students are reading. It also includes elements of research, collaboration, problem-solving, and creativity! For several days prior to filming, the students had worked in groups to develop their scripts and make their own props. Today was filming day, and I was in charge of holding the laptop/camera while they performed. It was quite entertaining! The students did an excellent job speaking with expression. After I shot the raw footage, the students were going to edit it using iMovie to add in the titles, music, and special effects. You can take a look at the raw footage here:
Group 1 – Scene 1, Scene 2, Scene 3, Bloopers
Group 2 – Scene 1, Scene 2, Scene 3, Scene 4