
Create an Online Yearbook
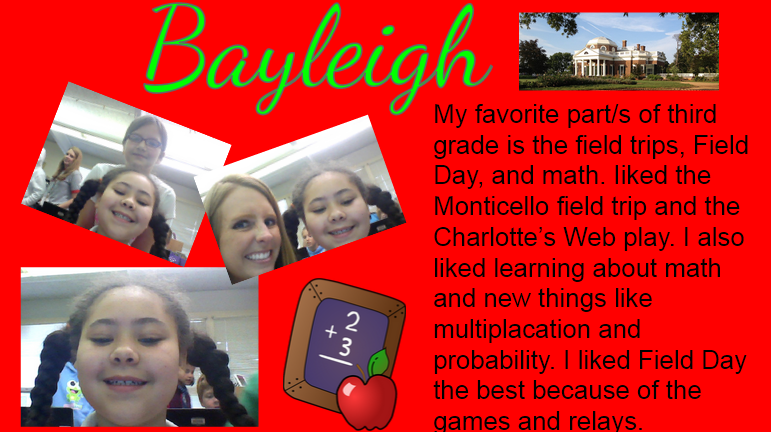 Today teachers at Davis Elementary created their own online yearbooks for free using Google slides and Flipsnack. First the students logged into Google classroom where I posted a Google slides template that all of them could edit. You can do that when you post an assignment by choosing the “Students can edit file” option. The students opened the slideshow, and each student got a slide that corresponded with their student number. They wrote their name on the slide and added a photo of themselves using the webcam (Insert > Image > Take a snapshot). Then they typed a few sentences about their favorite memories of this school year. Finally they added more photos using the Google Image search or taking snapshots with their friends. When they were finished, I exported the slideshows as PDF documents (File > Download As > PDF Document) and uploaded them to Flipsnack, a webtool that converts PDFs into online flipbooks. This made it easier for parents to access the yearbook, plus it looks really cool. You can take a look at a few yearbooks here: Eller, Bennett, Cousins. UPDATE: I taught a similar lesson with Ms. Conway’s class at Laburnum, but this time I converted the slideshow to images (File > Download As > JPG Image) and uploaded them to Animoto to make a video yearbook with music.


 This year students in Grades 3-5 will take some of their SOL tests online in June. So during the month of November I am training the teachers and students how to use the practice online test that is on all classroom and cart computers. It is called ePat and you can find it by searching for it with Spotlight (the magnifying glass in the top right corner of your screen). It is very important that you give your students several opportunities to practice taking the test using ePat. They should be familiar with using all the tools which are displayed in the top menu bar of the program. You can see the tools in this picture. They include the “slash the trash” tool, the highlighter, the straight edge, the eraser, the ruler, and the protractor. If you need a refresher on what the tools do and how to use them, just click the question mark. It will give you an explanation and even a short video. Let me know if you or your students need any help with ePat.
 Each school has a different method for signing up to use the COWs (Computers on Wheels) or laptop carts. You may find a helpful solution in a website called
  Are you ready to get your phunk on? ARE YOU READY??!!! Here’s the place to leave your comments and questions about our GarageBand class. Let us know how we can help you, or share your project ideas with your classmates. Remember, the reflection date is October 12th at Greenwood Elementary. Please bring your completed projects with you so we can burn them on a CD for everyone. We’re looking forward to learning some funky fresh moves from each other. Links to online tutorials and handouts are